
How to use Filtrare
A simple routine. A beautiful cup.
Your first pour-over starts here. Follow five simple steps, or watch how to brew a cup with Filtrare.
New to pour-over? You’re in the right place.
One pour at a time
Let’s brew together.
Choose your servings and how you’ll measure. We’ll guide you from there.
Recipe for 2 servingsRecipe for 1 serving
Includes the bloom water. Have extra hot water ready to rinse the filter.Use standard US measuring cups, not a drinking mug. This is an approximate recipe; a scale gives more repeatable results.
Have these ready: your Filtrare, a compatible paper filter, ground coffee, a kettle, a mug, and your scale or measuring cups.
Prepare your brewer
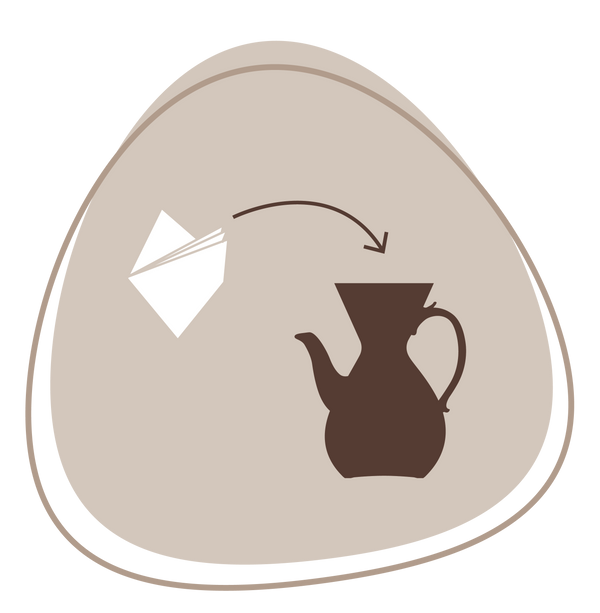
Open your paper filter so one side has three layers and the other has one. Place it in your Filtrare. Rinse with hot water to warm the ceramic, then carefully discard the rinse water.Boil 3 cups of water. Open your filter so one side has three layers and the other has one. Place it in your Filtrare and rinse with about ¼ cup of hot water. Wait one minute, then carefully discard that water.Boil about 1¾ cups of water. Open your filter so one side has three layers and the other has one. Place it in your Filtrare and rinse with about ¼ cup of hot water. Wait one minute, then carefully discard that water.
The rinse water is separate from your brewing water.
Add your coffee
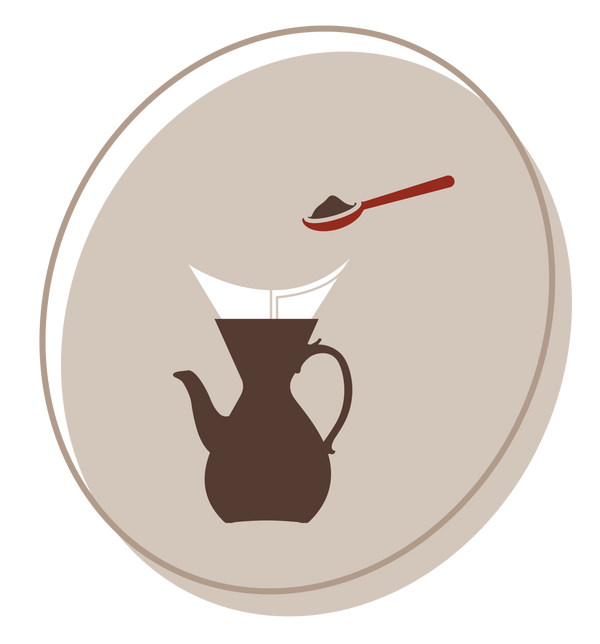
Add 40 g of medium-ground coffee. Think coarse sand, rather than fine powder. Gently level the grounds. Place the brewer on your scale and press tare (zero).Add 20 g of medium-ground coffee. Think coarse sand, rather than fine powder. Gently level the grounds. Place the brewer on your scale and press tare (zero).Add ½ level measuring cup of medium-ground coffee. Think coarse sand, rather than fine powder. Gently level the grounds.Add ¼ level measuring cup of medium-ground coffee. Think coarse sand, rather than fine powder. Gently level the grounds.
Pre-ground coffee is welcome. Ask your roaster for a pour-over grind.

Let it bloom
Slowly pour 80–100 g of hot water over the grounds, wetting them evenly. Pause for 30–45 seconds. Leave the scale running; do not zero it again.Slowly pour 40–50 g of hot water over the grounds, wetting them evenly. Pause for 30–45 seconds. Leave the scale running; do not zero it again.Slowly pour ⅓–½ measuring cup of hot water over the grounds, wetting them evenly. Pause for 30–45 seconds.Slowly pour about ¼ measuring cup of hot water over the grounds, wetting them evenly. Pause for 30–45 seconds.
“Bloom” simply means this first little pour and pause. You may see the coffee puff up or bubble.
Continue the pour
Pour slowly in gentle circles, adding water in 2–4 stages. Stop when the scale reads 640 g in total, including the bloom water. Let the level drop between pours.Pour slowly in gentle circles, adding water in stages. Stop when the scale reads 320 g in total, including the bloom water. Let the level drop between pours.Slowly add about 2¼ more measuring cups of hot water into the centre of the grounds. Pause as needed to let the water drain. This is in addition to your bloom water.Slowly add about 1 measuring cup plus 2 tablespoons of hot water into the centre of the grounds. Pause as needed to let the water drain. This is in addition to your bloom water.
Keep the water below the top of the filter. There is no need to rush.
Pour & enjoy
When the water has drained through the grounds and dripping slows, carefully remove the filter. Gently swirl the coffee, pour into your favourite mug, and enjoy.When the water has drained through the grounds and dripping slows, carefully remove the filter. Gently swirl the coffee, pour into your favourite mug, and enjoy.
Your first cup is a starting point. Make a small adjustment next time to suit your taste.

A little guidance
Your brewing questions, answered.
From choosing a filter to finding your favourite pour, a little guidance goes a long way. Start with the question on your mind.
Before your first brew
What do I need to get started?
Have your Filtrare, a paper filter, ground coffee, fresh water, a kettle and a mug ready. A kitchen scale makes measuring easier, but you can also use the measuring-cup option in the guide. Your phone can time the bloom.
The brewer collects the coffee inside its own base, so you do not need a separate carafe underneath it.
Should I wash my brewer before using it?
Yes. Give it a gentle wash with warm water and a little mild dish soap, then rinse away all the soap. Set it on a stable, heat-safe surface before you begin brewing.
How many cups can I make?
The recipe selector above makes one or two generous servings: 20 g of coffee with 320 g of brewing water for one, or 40 g with 640 g for two. Some water stays in the grounds, so those numbers are slightly lower than the final amount in your mug.
The Scandinavian has a capacity of 48 fl oz (about 1.4 L), while the Victorian holds 56 fl oz (about 1.6 L). That is roughly six or seven 8 oz cups respectively; large mugs will give you fewer servings.
Can I make a larger batch than the recipe shows?
Yes, but start with the one- or two-serving recipe while you learn your brewer. For a larger batch, the scale recipe uses 16 g of water for each gram of coffee. A larger bed of grounds may need a slightly coarser grind and more time to drain.
Watch both the filter and the coffee level inside the brewer, leave space below the rim, and pause between pours. If you are unsure how much room remains, make another batch rather than topping it up.
What kind of kettle should I use?
A gooseneck kettle has a long, narrow spout that makes a slow, controlled stream easier. Either electric or stovetop is fine; temperature control is helpful but optional.
You can start with a regular kettle. Pour gently, keep the stream close to the grounds without touching them, and pause if too much water comes out at once.
Do I need a scale or a coffee grinder?
Neither is required to get started. Choose the guide’s measuring-cup option if you do not have a scale, and use ground coffee for pour-over. A scale helps you repeat a recipe more accurately; a grinder lets you adjust the texture and grind just before brewing.
If you buy pre-ground coffee, ask your roaster for a pour-over grind and mention that you use a paper filter.
Filters and preparation
Which filters can I use?
We recommend Filtrare paper filters for a straightforward fit in both brewers. Chemex and Chemex-compatible paper filters and reusable should also fit; check that your chosen size sits securely in the cone and leaves enough paper above the grounds and water.
How should I position the paper filter?
Open the folded filter into a cone with three layers together on one side and one layer on the other. In the Scandinavian, place the three-layer side against the built-in channel at the front of the brewer. The thicker paper helps keep that air path open as coffee drains.
Let the filter sit naturally in the cone. Avoid pushing or packing it tightly into the channel.
Why rinse the filter before adding coffee?
The hot rinse wets the paper, helps reduce a papery taste and warms the ceramic before brewing. It also helps the filter settle into place. Let the rinse run through, then carefully pour that water away before adding your coffee.
Rinse water is extra: it does not count toward the recipe’s brewing-water total.
Can I reuse a filter or brew without one?
Use a fresh paper filter for each batch. A used filter can be fragile and hold onto old coffee oils and grounds, which makes the next brew less predictable.
This guide is written for paper-filter brewing. Do not add loose grounds directly to the ceramic cone. Reusable filters vary in fit and flow, so check compatibility before substituting one.
What coffee and grind size should I start with?
Choose a coffee you already enjoy; you do not need a special “pour-over” bean. A medium roast can be an approachable starting point. Begin with a medium grind that looks more like sand than powder.
If the brew stalls, try slightly coarser grounds next time. If it rushes through and tastes thin, try a small step finer. Grinder numbers differ between brands, so use texture, drainage and taste together.
What water should I use, and how hot should it be?
Start with fresh water that tastes good on its own. If your tap water has a noticeable chlorine taste or smell, filtered water can help.
A useful starting temperature is 195–205°F (about 90–96°C). Without temperature control, bring the kettle to a boil and allow it to settle briefly before pouring. Let taste guide small adjustments rather than worrying about a perfect number on your first brew.
Following the recipe
What does “bloom” mean?
The bloom is the first small pour of water followed by a short pause. It wets the grounds and gives trapped gas a chance to escape before you add the rest of the water. The coffee may rise or bubble as this happens.
For this guide, wait 30–45 seconds after that first pour. Think of it as giving the coffee a moment to settle into brewing.
My coffee barely bubbles during the bloom. Is that a problem?
Not necessarily. The amount of bubbling varies with the beans, roast, freshness and how long ago the coffee was ground. Make sure the grounds are evenly wet, give them the usual pause, and continue brewing.
Judge the finished cup by how it tastes, rather than how dramatic the bloom looks.
What does “tare” mean, and when do I press it?
Tare means reset the scale to zero. After rinsing and emptying the brewer, add the dry coffee, place the brewer on your scale, and press tare before you begin pouring brewing water.
Do not zero the scale again after the bloom. Keep adding water until the reading reaches the total shown for your selected serving size.
Does the bloom water count toward the total?
Yes. In the scale recipe, the final reading includes every drop you poured onto the grounds, starting with the bloom. The earlier filter rinse is separate and should already have been discarded.
Without a scale, the guide lists the bloom amount and the additional main-pour amount separately. Follow those two amounts in order.
How do I pour water over the coffee evenly?
Keep the brewer upright on the counter. Use a gentle stream of water to wet the grounds evenly, moving in small circles rather than blasting one spot. Aim at the coffee instead of pouring down bare filter paper.
Add water in stages and let the level fall between them. Keep it below the top of the filter. You are aiming for a calm, controlled pour, not a particular drawing or a perfect spiral.
How long should brewing take, and when is it finished?
Expect a 2.5 - 4 minutes, with the larger recipe generally taking longer. Grind size, coffee, filter and pouring speed all affect the time, so a stopwatch is a useful reference rather than a pass-or-fail test.
After you have added the recipe’s full water amount, wait until the standing water has passed through the grounds and the dripping has slowed. Then remove the filter carefully. You do not need to squeeze out every last drop.
Should I stir the grounds or squeeze the filter?
For your first brews, keep things simple: wet the grounds evenly and let the water drain. Vigorous stirring can move fine particles into the paper and slow the flow.
Do not squeeze the hot filter. Lift it out carefully when brewing is finished, then give the collected coffee a gentle swirl before serving.
When the brew needs a little help
My filter is choking and draining very slowly. What should I check?
Pause your pour first so the water level does not keep rising. Check the grind: very fine coffee can restrict the flow, so grind slightly coarser for the next batch.
If you use the Scandinavian, make sure the three layers of paper face the built-in channel. This helps air escape from the brewer as coffee enters it. Paper pressed into that channel can interrupt drainage even when the grind is suitable.
Avoid stirring aggressively or forcing water through. If you need to reseat the filter, let the water drain and the hot contents cool enough to handle safely first.
The water runs through quickly and the coffee tastes weak. What can I change?
First check that you used the full coffee amount for your selected servings and that water stayed inside the filter. If those are right, try a slightly finer grind next time and pour more gently.
Keep the rest of the recipe the same while you test the change. A fast brew that tastes good does not need fixing just to match a timer.
Why does my coffee taste bitter or drying?
Try a slightly coarser grind for the next brew, especially if drainage was slow. You can also test slightly cooler water, particularly with a dark roast, but change one thing at a time.
Some coffees naturally have a stronger roasted flavour. If the cup is simply too concentrated, add a little hot water to your mug and taste again.
Why does my coffee taste sour or sharp?
If it tastes unpleasantly sour rather than pleasantly fruity, try a slightly finer grind or slightly hotter water on the next brew. Wet the grounds evenly and avoid a rushed main pour.
Change one variable at a time. Light-roasted coffees can have natural fruit-like acidity, so your preferred beans matter as much as technique.
How do I make the coffee stronger or lighter?
Start with the guide’s recipe so you have a reference. For a stronger next cup, use a little more coffee with the same brewing-water amount. For a lighter cup, try a little less coffee, or dilute the finished coffee with hot water.
Keep these changes small. Strength and bitterness are different: adding more coffee does not automatically solve an unpleasant bitter taste.
Serving and caring for your brewer
How do I get a smooth pour from the brewer into my mug?
Wait until brewing is complete and remove the filter first. Hold the handle securely, bring the spout or pour channel close to your mug, and begin with a gentle tilt.
Adjust the angle gradually: tilt a little more if the stream hesitates, or a little less if it comes out too quickly. The angle you need changes as the brewer empties. Find the steady stream, then return the brewer upright in one controlled movement to finish.
You can practise with cool water to get a feel for your brewer before serving hot coffee.
Should I swirl the coffee before serving?
A small, gentle swirl helps mix the coffee collected throughout the brew so the first and second servings taste more alike. Remove the filter first and avoid splashing, especially when the brewer is full.
How can I keep the coffee warm?
Warm the brewer during the filter rinse and pre-warm your mug, emptying both before use. If you have the matching lid, put it on after removing the filter to help hold warmth between servings.
For a longer wait, use an electric warmer on a ceramic setting and no higher than 200F.
Do not place the ceramic brewer on a stovetop, burner or open flame.
How do I clean the brewer after making coffee?
For everyday cleaning, wash with warm water directly after you've poured your coffee. For deeper cleaning, mild dish soap and a soft sponge. A soft bottle brush can reach inside, and a straw cleaner works on the Victorian's spout.
Rinse well and leave it to dry. Avoid rough scouring pads and sudden changes from hot to cold water. Handwashing is our preferred everyday routine, even though the brewers are dishwasher safe.
Can I compost the used grounds and filter?
Used grounds and Filtrare paper filters can go into compost where accepted. Check your local collection rules, and check the maker’s guidance if you use another brand of filter. Let everything cool before handling.
I still need help. What should I send you?
We are here to help! Send us a message on our website chat. If you would like, send us your phone number to request a phone or video call to assist you with brewing andd answer any of your questions.